How to Make Stickers for Home
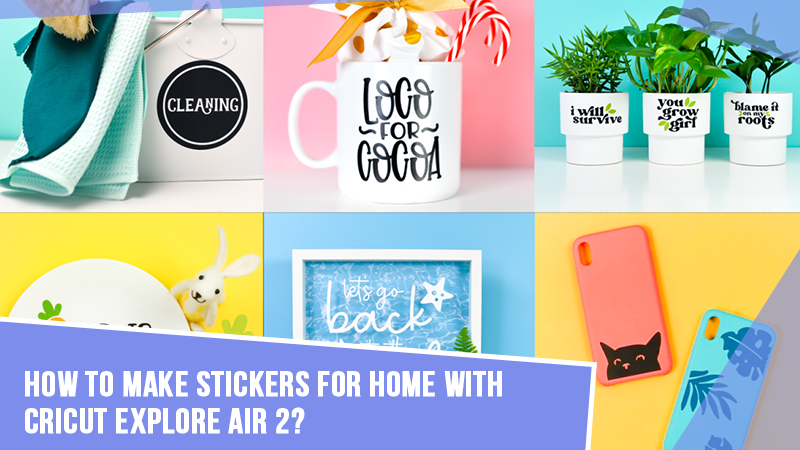
Making stickers is high on the to-make list of crafters. After all, they serve as a perfect marketing tool for small businesses. These are not only fun but simple to create too. It is a creative and fun way to add stickers to cards, envelopes and make stickers for yourself. You can make attractive stickers for label planners, decorate your notebooks, and more. Moreover, Cricut introduces a wonderful machine Cricut Explore Air 2, that can help crafters make stickers for home.
Are you going to create stickers for the very first time? This all-in-one guide will help you through some simple step-by-step procedures. Please read it for some basic steps to end up with printer stickers, die-cut, and bumper stickers.
Step 1: Download PNG files and Upload Them to Design Space
You can easily start making stickers with the help of Design Space and the Explore machine. Here are a few useful tips that you need to follow for the process.
- Firstly, download the free PNG files.
- Later, you can save them separately and upload individual files.
- In the next step, open Cricut Design Space and go to start a New Project.

- After that, move to the left side of the canvas and tap on Upload.
- Now, upload your image. You can click Browse to find your file or drag and drop it from the Downloads folder.

- Locate your downloaded PNG file and tap on Open.
- Then, select Complete when you get to the Image type screen.
- Next, click on Continue on the following screen.
- Make sure to save the image as a Print-then-Cut.
- Lastly, tap on your image and then hit Insert Images.
Do the same steps to bring the stickers on the Canvas.
Step 2: Adjust the Size of Your Stickers

Give your sticker the dimension you want. You can do it both manually and automatically. Here are the manual steps to adjust the sizes of Cricut Explore Air 2 stickers.
- First, click on your sticker.
- After that, click and drag the right arrow to the bottom of the right-hand corner.
- Now, adjust the width or height of your image.
- Then, move to the top row in the Design Space and type in the size manually.
- Once you finish one sticker, repeat the same for all other stickers.
Step 3: Prepare Your Stickers for Printing & Cutting
The largest you can print and cut with your Explore machine is 6.75 x 9.25”. Make sure to use every last square inch available. Also, use a temporary rectangle with exact dimensions to fill it via stickers. It will help you fit as many stickers as you want. Here are some basic steps to add the rectangle.
- Move to the hand-left column and tap on Shapes.
- Next, tap on Square and adjust the dimensions.
- Hit on the lock and unlock the dimensions to adjust manually.
- When you find your rectangle is in size, could you send it to the back? Right-click on it and choose - send to back.
- Now, place as many stickers as you want on the top of the rectangle.

- Hide the rectangle and make it disappear from the Canvas.
- In the next step, highlight all stickers and tap on attach to lock all stickers.
- Next, switch on your Cricut Explore Air 2 machine and tap on Make It.
- After completing these steps, when you get to see a preview, tap on the Continue tab.
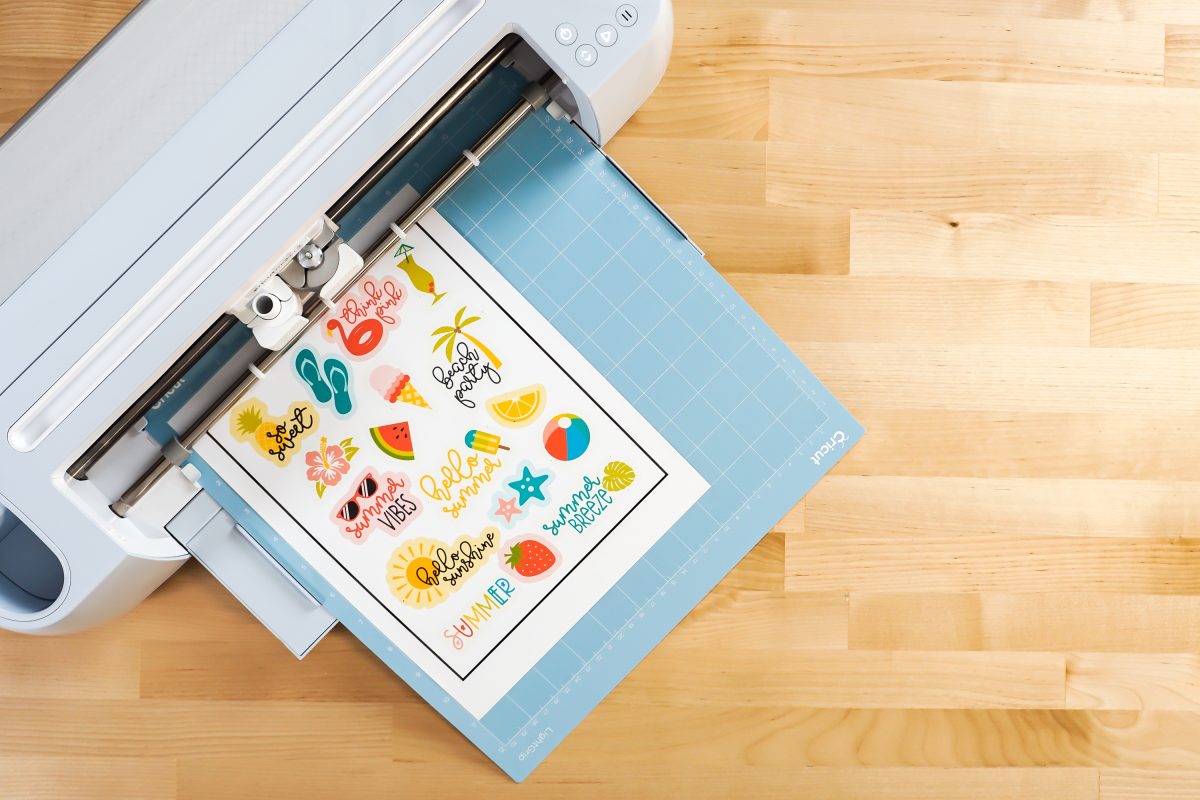
Step 4: Print Your Stickers
You can print those stickers when your Cricut machine connects to the printer. You need to tap on Send to Printer. And when the pop-up window appears, turn off the bleed and turn the system dialog on. When another window pops up, follow these steps.
- Initially, move to your printer.
- And then, load the printable vinyl into your printer.
- Now, you can load it upside down or in a certain slot.
- Finally, get printing.
With these steps, you can watch the printing magic in your sticker crafting process.
Step 5: Cut Vinyl & Remove Stickers from the Cutting Mat
The last step of how to make stickers with Cricut Explore Air 2 is cutting your vinyl and removing the stickers. Here are the steps for the process.
- Firstly, place stickers on a cutting mat. You can use StandardGrip or LightGrip.
- Now, confirm that there are no air bubbles.
- Later, place your vinyl into your Cricut.
- Also, set an appropriate cutting setting.
- After cutting the vinyl, remove your stickers from the mat.
- Then, you can flip the mat over.
- Or, bend the mat instead of stickers.
Conclusion
Home stickers are a great way to add fun. Fortunately, you can use your Cricut Explore Air 2 machine and cut your stickers. Whether you want to label your pantry or create stickers for your notebooks, the power of making them all is in your hands. Bring out your machine and collect materials such as printable vinyl, cutting mats, laminating sheets, and a functional printer.
FAQs
Yes, you can use this machine. Cricut Explore can work on a wide variety of materials; thus, you can use it to make permanent and temporary stickers. Go to the Design Space and make use of print and cut. Remember to use a fully functioning printer to print your DIY stickers. After making stickers from vinyl, you can go to the online site and sell them.
Do you want to make your favorite stickers using the Explore machine? Here are the instructions you require to follow.
Initiate by going to the Cricut Design Space.
Now, upload your image to the Design Space software.
Next, print the image as per standard size.
In the later step, set the material and verify the calibration steps of the cutting tool.
Now, load the mat into your machine.
After that, you have to cut out the stickers,
Finally, unload your mat and remove the stickers.
When you head to make stickers, you will need certain things. Apart from the Explore Air 2 machine, you will need more things to end up with a nice sticker project. Here is a list of some essentials.
A sticker paper or vinyl
A working printer
Cricut mat
And access to the Cricut Design Space software