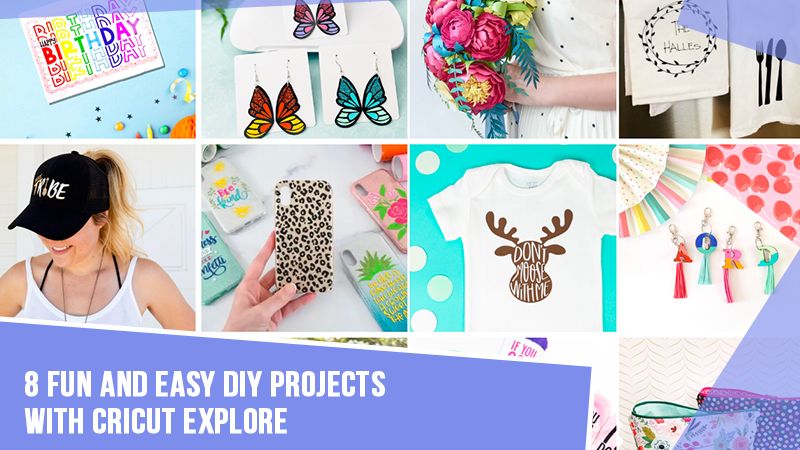
How to Make a Stencil
DIY making is something that never goes out of trend. Crafters love experimenting and how they can forget about the stencil. It is one of the popular types of crafting they can engage in. This artwork form enables them to create intricate designs by using the sheet. Furthermore, you can consider Cricut Explore as an ideal tool to make a perfect stencil.
This machine creates home decor, wall art, and wood signs. Not only will it add up to your creativity, but it will help you decorate your home too. In this quick tutorial, we will help you with simple steps to make stencils with the cutting machine. But before that, let’s understand what stencil is and what supplies you require to make it.
Understanding Stencil: An Overview
Stencil is material like contact paper, vinyl, transfer tape, or reusable mylar sheets. When you cut designs on these materials, you will return with a personalized piece. Crafters can design and cut in on vinyl or other materials using Cricut machines. Once the sheet is cut, you must apply the paint you choose. Just make sure to follow the process to make stencils carefully. Only then will it help you in achieving professional outcomes.
Tools & Supplies You Require to Make Stencils
Before you start making the stencil, you will require certain things. Make sure to assemble them and then start with the process. Here is a list of some times that can help you.
- Cricut machines such as Cricut Explore
- Stencil surfaces such as walls, fabric, canvas, wood, etc.
- Self-adhesive vinyl
- Cricut cutting mat
- A good weeding and scraper tool
- Pens
- Cricut transfer tape
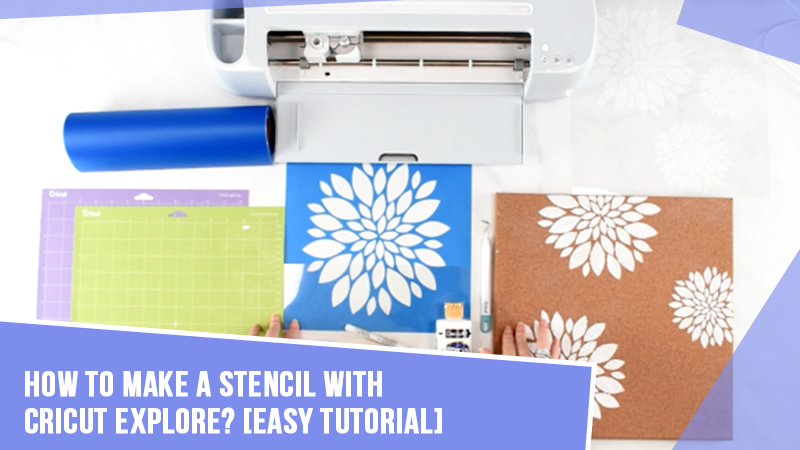
Steps to Make a Stencil With Cricut Explore
Here are some easy-to-follow instructions that you can learn to make a stencil. Make sure to understand them and implement them carefully. Besides, please note here we are using the Cricut Explore machine.
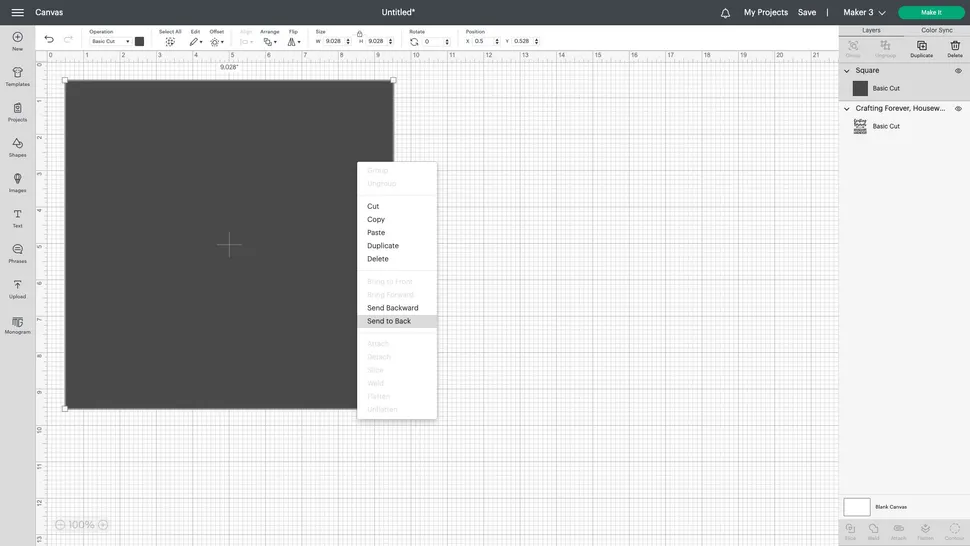
- Begin by launching Cricut Design Space.
- Then, select a design from the Cricut Access library, use an svg file, or create your stencil.
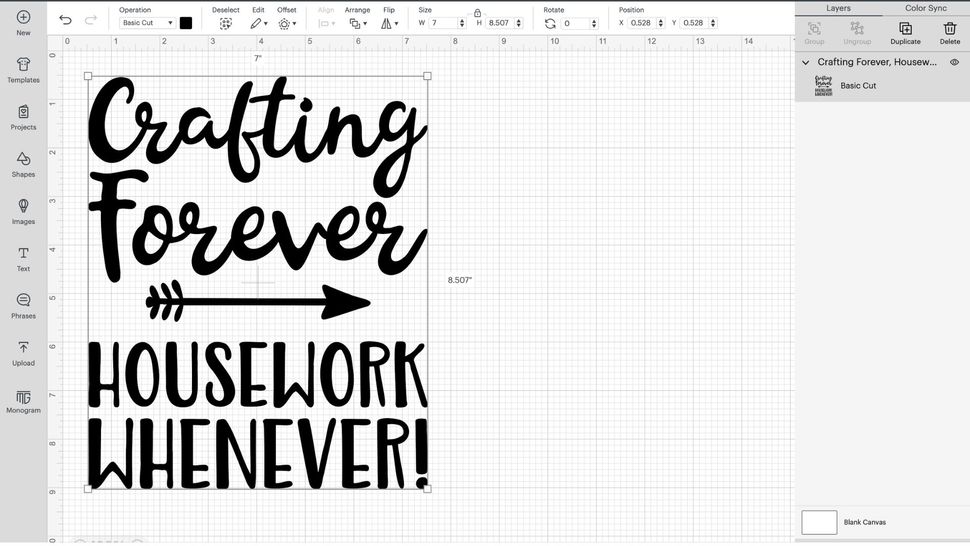
- Later, when your design completes, click on the item and add a box around the design. You can choose a square or other shaped box.
- In the next step, please right-click on the box and choose to send it back.
- And then, align your main design in the box middle.
- Now, attach your design. Ensure to highlight the whole design. It will help the design avoid jumping over the page in the next step.
- After that, begin the cutting procedure. First, prepare your mat and insert smart materials to begin the cutting process. Select the right material and make sure you get the right cuts.
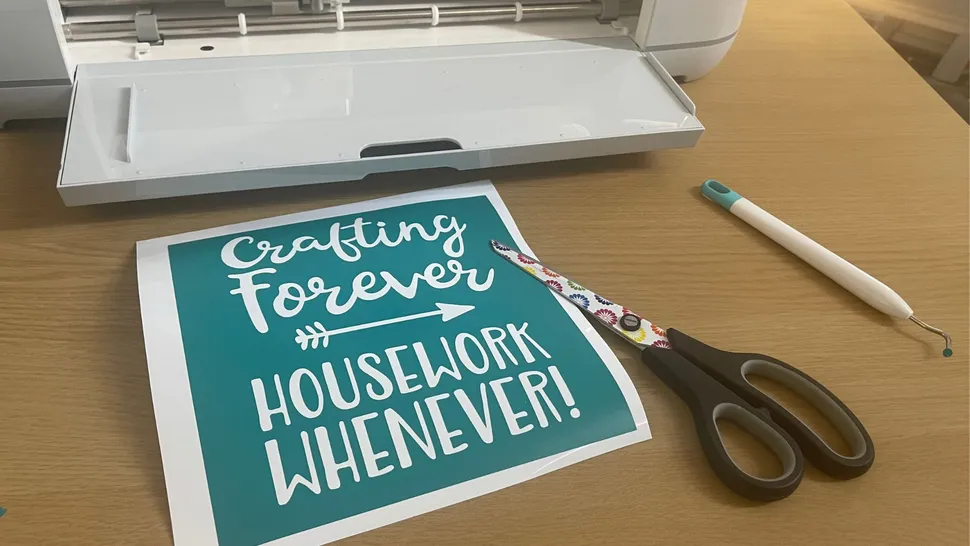
- In the following step, remove the unwanted pieces from your design.
- Also, trim your design to size.
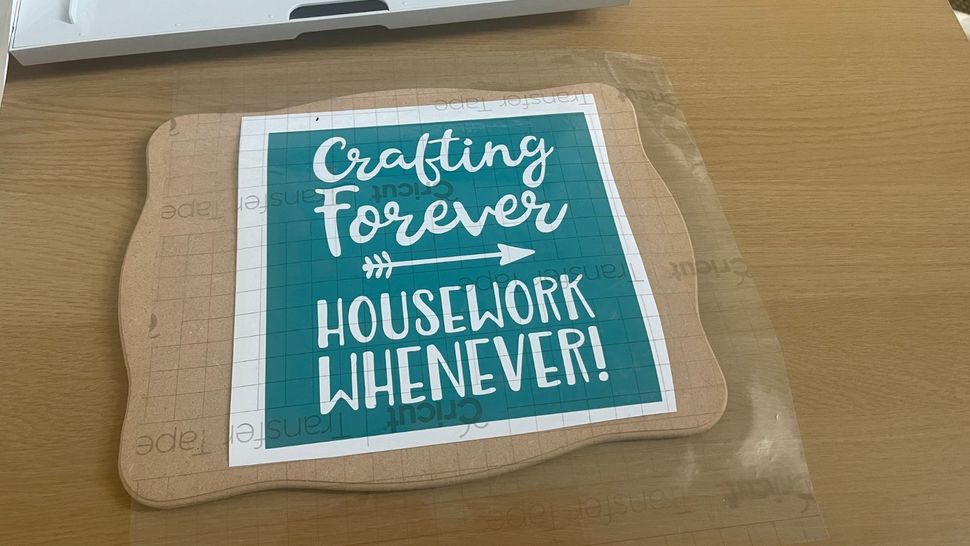
- Subsequently, apply the transfer tape. Firstly, place the transfer tape adhesive side down and use a scraper tool to transfer vinyl onto the tape.
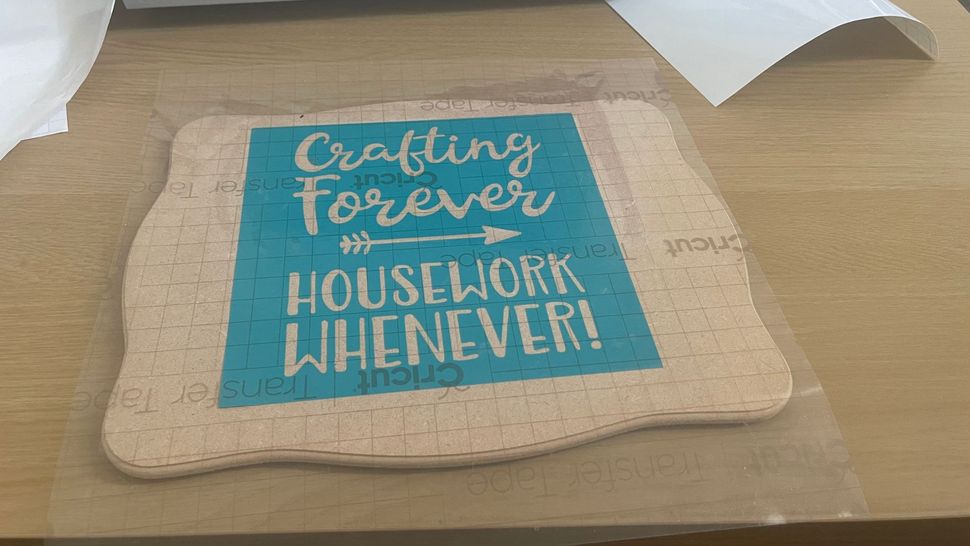
- And then, use a scraper to use stencil vinyl onto the project area.
- Later, remove the transfer tape. You will see the stencil vinyl on your project surface when you peel off the transfer tape.
- Now, get creative with painting.
- Finally, let the paint dry and remove your stencil then.
Note: After removing the stencil, you can use a clear sealer for a clear and smooth finish.
Do you want to know how to make stencils with the Cricut Explore machine? Follow the same above procedures for an outstanding stencil project.
Conclusion
Crafters can make stencils easily with their Cricut machines. These machines enable them to end up with professional-looking results. To get started, they first need access to the Cricut Design Space. And then, make sure to have essentials such as a Cricut Explore, cutting mat, stencil surface, scraper tools, and more. All these can help them create extraordinary stencils.
FAQs
Stencils are easy to create with the Cricut machine. You can use Explore 3 or Explore Air 2 for this purpose. But, besides the machine, you will need some additional things. You may require fewer or more items depending on your project’s needs. Here are some of them.
A scraper tool
Brayer
Stencil vinyl
Transfer tape
Stencil surface.
Paint
Yes, you can easily do that. All you need is a Cricut machine and all the basic tools. Also, make sure to know the procedure for doing the project. These are the steps for the process.
Launch the Design Space and make a stencil.
Now, cut the design on Stencil vinyl.
In the following step, send your cut design.
Now, use a weeding tool and remove the extra parts.
Lastly, add the stencil design to your project.
You can use any Cricut machine to create and cut stencil designs. The best machines include Cricut Maker, Cricut Joy, and Cricut Explore. Moreover, these machines allow crafters to create several designs on a stencil surface, whether a wall or other surface. Also, the Maker and Explore series are perfect for a significant stencil design.